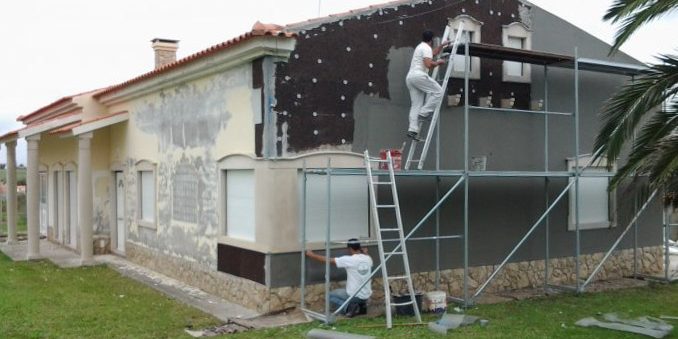
The most common way to install expanded cork for a retro-fit is on the outside wall. Put simply you stick the expanded cork panels on the outside walls and then plaster over it, otherwise known as ETICS (External Thermal Insulation Composite System). There is a Portuguese company, Secil, that has developed a comprehensive range of products for this purpose – you can read about the Secil expanded cork ETICS system here.
The key steps are as follows:
1. Install a support profile to elevate the cork above ground level and give a firm base for installation
2. Coat the expanded cork panels with bonding mortar and fix them to the wall
3. Add insulation screws for extra security to keep the panels in place and cover them with bonding mortar
4. Cover the cork with a reinforcing mesh using the bonding mortar again
5. Give a smooth finish with a fine sand finishing mortar
6. Paint
There are other alternatives to the Secil products, as other binding mortars and generic products will work fine, but if you are looking for premium products, then this is certainly one of the best options. The thickness of expanded cork that you use is really a personal choice, but typically 40 to 80mm is used for outside walls.
Secil also produced a video (in Portuguese) showing the installation of expanded cork using the ETICS system which you can see below.


